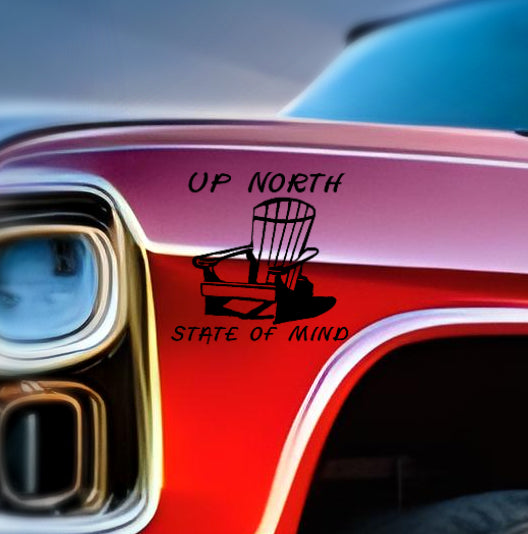
Vinyl stickers are a popular way to customize your car and show off your personality, but when it comes time to remove them, many people are concerned that they will cause damage to the paint. Fortunately, there are fast, easy ways to remove vinyl stickers without damaging the paint on your vehicle! Let’s take a look at how you can do this safely and effectively.
Step 1: Heat Your Sticker with a Hair Dryer or Hot Water
The first step in removing your sticker is to get it warm. Warming the sticker will reactivate the adhesive used to keep the sticker applied. As the adhesive gets warm, the sticker will also become more pliable and stretchy. Heat is a great was to loosen the adhesive and make the decal easier to remove. If using a hair dryer. start by setting the heat on low and slowly moving the hair dryer around in circles over the sticker for about 10 minutes. Make sure that you don't overheat the area; if you notice any bubbling or melting, stop and wait for the area to cool down before continuing. If using hot water, be sure to get water that is no warmer than 85 degrees Celsius. The hot water cannot be boiling (100 degrees Celsius) as this could potentially damage the paint on your car. If using water, begin by slowly pouring the hot water over the sticker so that the whole decal received a good does of hot water. In some cases, stickers will not be in a suitable position for hot water to work, in those cases be sure to have a hair dryer on hand as a back up. The trick with using heat is to ensure that the sticker gets warm, but not so hot that you risk damaging your car's paint.
Step 2: Peel off The Sticker
Once your sticker has been heated up and loosened, you can start peeling it off from one corner. If you find that the sticker is still being stubborn, try gently using a plastic scraper to remove a corner of the sticker so you can begin peeling it up. Try not to pull too hard or too fast as this could risk tearing your car paint with the sticker and would definitely be counterproductive. Slow and steady is the name of the game. Do not use sharp tools such as a window scraper with a blade as this could damage your vehicle’s paint as well. It may be tempting to just pull the sticker off once you have started to get it to peel, but work slowly and carefully until all of the sticker has been removed from your car's surface to protect the paint at all times.
Step 3: Clean Up Any Residue
Once all of the sticker has been removed, you may find that there is a residue that has been left on your car's paint from the adhesive. You should work to clean up any residual glue or residue left behind by using a cloth dampened with soapy water. Alternatively, rubbing alcohol is another great way if you find that the glue is too difficult to remove with just soap and water. One other method that has been found to be quite effective is olive oil. Oil is great at breaking down adhesives and glues that are used on vinyl stickers. If all previous recommendations have failed, try a commercial glue dissolver such as Googone that is specifically designed to protect surfaces from damage. Always read and follow the manufacturers instructions when using commercial solvents on your car. When using any of the above mentioned methods, grab a cloth and rub gently in circular motions until all of the adhesive has been removed and then wipe away any excess water, soap, alcohol or solvent with a dry cloth. Finally, apply wax or polish to protect your car's paint job and give it a nice shine!
Removing vinyl stickers from your car can be intimidating but it doesn't have to be! With these simple steps, anyone can easily remove their stickers without damaging their vehicle's paint job. Just remember to be gentle while peeling and never use sharp tools as this could scratch or chip your paintwork! Clean the area afterwards and your car should be back to shinning without the previous decal. Have fun customizing your ride without the worry of damage to its paint job.

